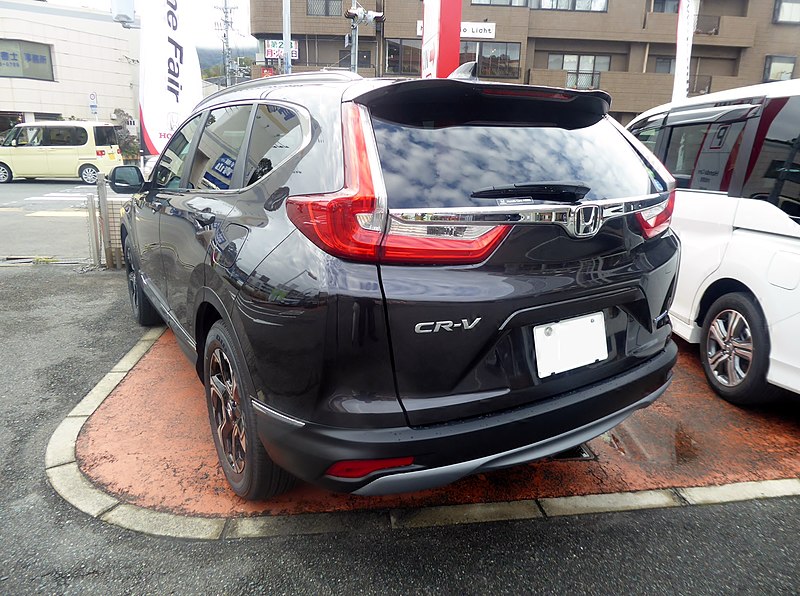
Source: Wikipedia | Tokumeigakarinoaoshima
There’s nothing like accomplishing a straightforward maintenance task. Whether you’re an experienced DIY enthusiast or tackling a repair project for the first time, use this helpful guide to replace a tail light in your Honda CR-V. Use a free VIN lookup online tool to verify the correct bulb and tail light assembly needed before you tackle this project.
Gather the Necessary Materials
Some tail light repair projects only require a new light bulb. Others, particularly if you’ve been in an accident or backed into an object, may require a new tail light assembly. Here are the most common materials needed to restore your CR-V tail light:
Phillips screwdriver
Work gloves
Park your CR-V in your garage or another flat, well-lit area to get started on your tail light replacement. A damaged covers and broken lightbulbs have sharp edges, so be cautious as you remove the damaged components.
Remove the Tail Light Assembly
Depending on the year of CR-V, the exact process can vary. Most Honda CR-V models use two small screws to hold the tail light assembly in place from the back. These may be covered by small plugs, which will need to be removed.
Open your hatch and use your screwdriver to carefully remove these two screws. Hold the tail light assembly as you remove the last screw, as the assembly may come loose immediately. If it doesn’t gently pull it out of place to inspect the back.
Remove the Damaged Lightbulb
Your tail light bulbs are held in place with an electrical connector. Turn the connector counterclockwise to loosen it and remove it from the tail light assembly. Remove the assembly as well, if damaged. Properly dispose of the damaged lightbulb.
Inspect the Electrical Connector
Before you connect your new lightbulb to the electrical connector, inspect it and the wiring for signs of damage. Frayed or cut wiring needs to be repaired before your new tail light will turn on.
Replace the Lightbulb
Use work gloves to carefully handle the new lightbulb, as oils can affect the surface of the lightbulb. Replacing the lightbulb is as easy as connecting it to the electrical connector, inserting it in the tail light assembly and turning it clockwise until it’s firmly in place.
Install the Assembly
The tail light assembly typically has four connectors that secure it to your CR-V. These connectors may have fallen or moved as you removed the assembly. Take care to adjust them and prepare them as you put the assembly back in place. Replace the screws that hold the tail light assembly in place.
Test Out Your New Tail Light and Learn More
Unless there’s an electrical issue, your tail lights should now work effectively. Before you drive your CR-V, turn on your tail lights and inspect your work. If your new bulb is malfunctioning, it may be a sign of electrical issues.
For more information on tail light bulb replacement and other common DIY repair projects, stop by your local auto parts store or search online for a how-to guide. Find name-brand lightbulbs and enjoy convenient replacement parts when you use an online VIN lookup tool.
Leave a Reply
You must be logged in to post a comment.